How to Print Party Printables at Home: Paper and Sizes
August 7, 2026
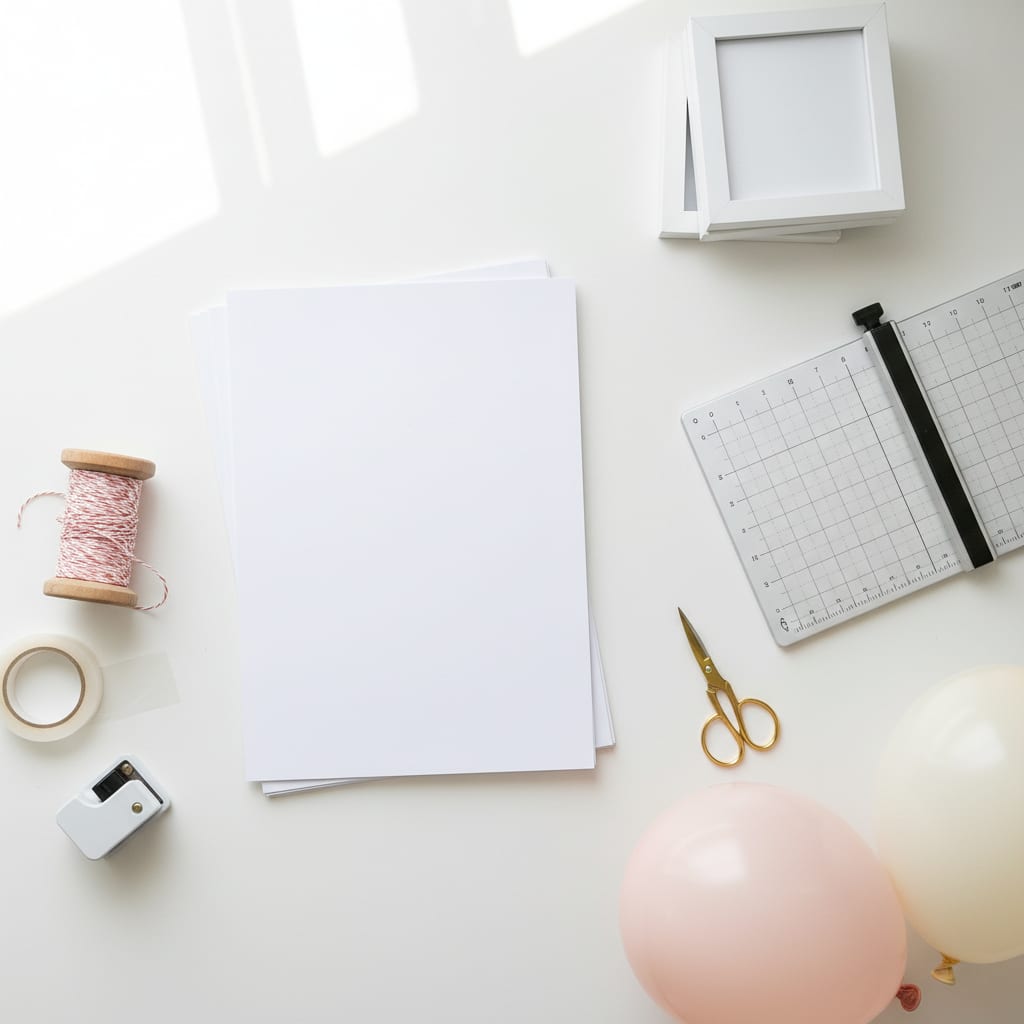
Here’s the short version: print party signs on 65 lb (176 gsm) white cardstock, set the print dialog to Actual size rather than “Fit to page” — that one setting is why your 5x7 sign came out 4.8 x 6.7 and swims in the frame — choose the best or photo quality option, tell the printer it’s loaded with heavyweight paper, and cut with a paper trimmer instead of scissors. That’s honestly the whole trick. Everything below is the detail that turns a home printout into something that looks like it came from a party shop.
The paper does most of the work
The design matters less than what it’s printed on. Match the weight to the job:
- 20–24 lb copy paper — anything guests write on: game sheets, quizzes, advice cards passed around a room. Cheap on purpose, because half of them get scribbled on and binned.
- 65 lb cardstock (176 gsm) — the workhorse. Signs, table tents, food labels, favor tags, bunting flags. Stands up in a frame, folds cleanly, doesn’t go translucent under a candle.
- 80–110 lb cover weight — invitations that travel in the mail, cake toppers that have to stay upright in frosting, anything that gets handled all afternoon.
- Matte photo paper — only for designs with an actual photograph in them. Glossy photo paper looks lovely in your hand and terrible under a ceiling light, because every sign becomes a mirror.
A ream of 65 lb bright white cardstock lasts through years of parties and costs less than one trip to the party aisle. Buy it once, keep it flat in a drawer, and stop deciding paper on party morning.
Print settings that quietly wreck a sign
Six things to check before you hit print, every single time:
- Scale: Actual size / 100%. “Fit to page” shrinks everything by a few percent to allow for your printer’s unprintable margin. Sizes stop matching frames and nothing lines up.
- Paper type: cardstock or heavyweight. This slows the feed and lays down more ink. Skip it and thick paper jams or prints streaky.
- Quality: best or photo. Draft mode bands badly across large blocks of color, which is exactly what a party sign is.
- Borderless, only if your printer truly does it. Most home printers can’t print to the paper edge. Design with a white margin and trim it off instead.
- Test on plain paper first. One sheet tells you the scale, the color and whether the layout is off-center.
- Expect colors to print duller. Screens are backlit and paper isn’t. Pale blush and pastel yellow print noticeably paler — bump the design a shade darker, or lean into a palette you know prints well, the way the palettes in our color party guide are built around bold, printable shades.
Sizes that fit frames you already own
Design or resize to standard dimensions and the rest of the setup gets free:
- 5x7 and 8x10 signs — slide into inexpensive standing frames from any home store. Two 5x7s fit on one sheet.
- 4x6 signs — the dessert-table workhorse, and it fits the frames left over from photos.
- Food label tents — roughly 3.5 x 2 inches folded, so six to eight per sheet. Score the fold and they stand without a stand.
- Cupcake toppers — 2-inch circles, punched or trimmed, taped to a toothpick.
- Favor tags — 2.5 x 3.5 inches (playing-card size), hole-punched in a corner.
- Bunting flags — around 5.5 inches wide, two or three per sheet, strung on baker’s twine.
Write the size you need on your shopping list before you buy frames, not after. Ask me how I know.
Cutting, folding and finishing
- A trimmer beats scissors, always. A 12-inch paper trimmer gives you the straight edge that separates “homemade” from “ordered.” Line the design up to the grid, one pass, done.
- Score before you fold. Run the back of a butter knife along a ruler first and cardstock folds crisply instead of cracking through the color.
- Round the corners with a corner punch if you have one. It’s a two-second change that makes tags look professionally die-cut.
- Weatherproof outdoor signs by slipping them into a clear page protector, taped shut at the back. Cheaper than laminating and invisible from three feet.
- Mount signs on a slightly larger piece of contrasting cardstock for a printed-border effect with no printing involved.
Using less ink than you think
Ink is the real cost of home printing, so design around it:
- Keep backgrounds white and put the color in the type and a border. Full-bleed color blocks drink cartridges.
- Print black on colored cardstock to get your palette without any colored ink at all. A black-on-kraft or black-on-blush sign looks intentional and modern.
- Proof in grayscale, then print the final in color.
- Gang up small items — eight tags on a sheet, not one per page.
- Only print what goes on the table. Two signs and a stack of tags beats a fourteen-page pack you never put out. The checklist system in our birthday party planner post is the same idea: print the pages you’ll actually use.
Games are the exception worth the paper — printed sheets on plain copy paper, one per guest, plus two spares. The play-testing notes in our baby shower games guide tell you which ones need a sheet and which need nothing at all.
What not to print
Free character printables floating around Pinterest and Etsy dupes are, almost without exception, unlicensed use of someone’s artwork. Don’t build your table on them — beyond the copyright question, they print at whatever low resolution they were saved at and look fuzzy next to everything else. Use the theme’s colors and shapes instead: blocky pixel squares, a pink-and-green palette, paw-print silhouettes. Nobody at a four-year-old’s party has ever noticed the difference, and the crisp printing is what they see.
No printer at home?
Save your file as a PDF (not a JPG — JPGs get resized and re-compressed by print counters) and take it to an office-supply print counter or your library. Ask for 65 lb cardstock, single-sided, actual size, and check the first copy before they run the rest. A dozen sheets of decent cardstock printing costs a few dollars, and for a big party it’s often faster than babysitting your own printer.
Planning a first birthday and wondering what to print at all? The timeline in our first birthday planning guide marks the week when signs, tags and labels should get made — three weeks out, while you still have time to reprint.
FAQ
What weight cardstock is best for party signs?
65 lb cover weight (176 gsm) is the sweet spot: heavy enough to stand in a frame or fold into a table tent, light enough that a home printer feeds it without complaining. Go to 80–110 lb only for invitations and cake toppers.
Can you print party printables on regular paper?
Yes for anything guests write on — game sheets, quizzes, advice cards — and no for anything standing on a table, where copy paper curls and shows the light through. If regular paper is all you have, mount the sign on a folded piece of cereal box behind it.
Why does my printable come out smaller than it should?
Because the print dialog defaulted to “Fit to page” or “Shrink oversized pages,” which scales everything down a few percent to fit the printer’s margin. Set scaling to Actual size or 100% and reprint.
How do you cut printables straight without a cutting machine?
A guillotine or rotary paper trimmer with a measuring grid. Line the cut line up with the grid, hold the paper flat, one smooth pass. Scissors wander, and a wobbly edge is the single most visible tell on a printed sign.
Where can you get free party printables safely?
Stick to designs offered directly by the designer or the brand that owns the artwork, and treat anything featuring a licensed character on a random blog as a red flag. Generic themes — florals, stripes, color palettes, animals — are widely and legitimately shared, and they suit every table anyway.
Load the good paper, print one test sheet, and go make the table look like you hired someone. You didn’t, and that’s the best part!